Table of Contents >> Show >> Hide
- 1. Clean the Mark First, Then Use a Tiny Paint Touch-Up
- 2. Cover the Area With Peel-and-Stick Wallpaper or Wall Liner
- 3. Use Oversized Art, Mirrors, or a Gallery Wall
- 4. Add Paneling, Slats, or a Half-Wall Treatment
- How to Choose the Best Method for Your Wall
- Mistakes to Avoid When Covering Marks on Walls
- What I Learned From Actually Living With Marked-Up Walls
- Conclusion
Walls are like white sneakers: they look amazing right up until real life happens. A backpack brushes past the hallway corner, a dining chair leaves a mysterious gray streak, the dog decides to body-check the wall after hearing the mail carrier, and suddenly your “fresh, clean space” looks like it lost a fight with everyday living. The good news? You do not always need a full repaint to make your walls look better.
If you are trying to cover marks on walls quickly, cheaply, and without turning your living room into a drop-cloth convention, there are smarter options. Some fixes actually remove or disguise the mark. Others cleverly hide it behind texture, pattern, art, or architectural detail. The best choice depends on what kind of mark you are dealing with, how visible the wall is, and whether you rent, own, or simply do not feel emotionally prepared to repaint an entire room because of one stubborn scuff.
Below are four easy ways to cover wall marks that actually make sense in real homes. Some are practical, some are decorative, and all of them are easier than pretending guests will not notice the weird streak behind the sofa.
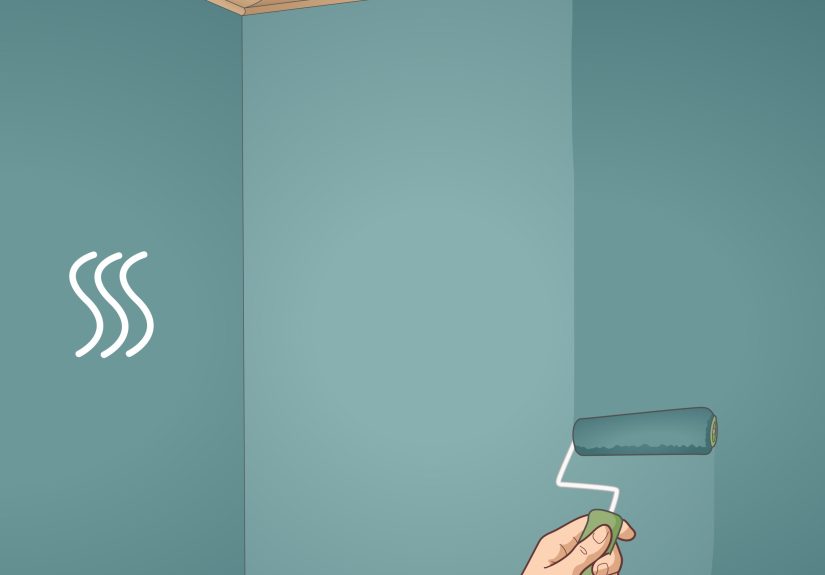
1. Clean the Mark First, Then Use a Tiny Paint Touch-Up
This may sound obvious, but plenty of people skip the easiest fix and go straight to camouflage mode. Before you cover anything, try cleaning it. Many wall marks are not permanent damage at all. They are surface scuffs, fingerprints, pencil smudges, grease, or rubbed-in grime that can be lifted with the right method.
Why this works
Painted walls collect dirt gradually, especially near switches, hallways, stairwells, mudrooms, kitchens, and kids’ bedrooms. A soft microfiber cloth with warm water and a little mild dish soap often removes the mark without harming the finish. For tougher scuffs, a baking soda paste or an eraser sponge can help, but use a gentle touch. Aggressive scrubbing can dull the finish, especially on flat paint.
How to do it well
- Dust the wall first so you are not rubbing grit into the paint.
- Test any cleaner in a small, hidden area.
- Use a soft microfiber cloth, not a scratchy scrub pad.
- Blot and wipe gently rather than attacking the wall like it owes you money.
- Let the area dry fully before deciding whether the mark is still visible.
If the stain or scuff remains, move to a paint touch-up. This is often the cleanest-looking solution for small marks, chips, and rubbed spots. The trick is matching the exact paint color and the sheen. A wall painted in eggshell will not blend perfectly with a satin touch-up, even if the color is technically right.
Best use cases
Small scuffs, chipped paint, old nail holes, rubbed corners, and isolated marks in high-traffic zones. This is especially useful if you still have leftover paint from the original project.
Pro tip
Use very little paint. Feather the edges with a small angled brush or mini roller so the repair blends in. Heavy-handed touch-ups can create a shiny patch that says, “Hello, yes, I have been repaired.” If you do not have the original paint, a paint store can often color-match a sample.
For many homes, this first method is all you need. It is not glamorous, but neither is looking at a black scuff mark every day while pretending it is “industrial character.”
2. Cover the Area With Peel-and-Stick Wallpaper or Wall Liner
If the mark is too large, too ugly, or too oddly placed for a simple touch-up, peel-and-stick wallpaper can save the day. This is one of the easiest ways to cover marks on walls because it does more than hide a stain. It changes the whole visual story of the wall.
Instead of “There used to be a weird patch here,” the room becomes “Oh, you have an accent wall.” That is a far better plot twist.
Why this works
Pattern and texture distract the eye. A floral print, grasscloth-look vinyl, stripe, mural, or subtle neutral texture can disguise discoloration, patched spots, and cosmetic imperfections. Wall liner is another useful option when the wall surface is a bit rough or slightly damaged. It is thicker than standard wallpaper and can help smooth out minor flaws before finishing over it or using it as a decorative layer.
When to choose wallpaper
- You have multiple marks clustered in one area.
- The wall has cosmetic imperfections beyond one tiny scuff.
- You want a renter-friendly or low-commitment update.
- You would rather decorate over the problem than perform wall surgery.
How to make it look intentional
Do not just slap wallpaper over one random rectangle in the middle of the room unless your design style is “suspicious patch.” Use it across an entire accent wall, inside picture-frame molding, behind shelves, in a reading nook, around a desk area, or as a lower-wall treatment. If the damage is near a bed, sofa, or entry bench, that zone is perfect for a wallpaper-backed feature wall.
What to know before installing
Peel-and-stick wallpaper generally performs best on smooth, clean, fully cured walls. Very textured walls can make adhesion tricky. Freshly painted walls also need time to cure before wallpaper goes up, so patience matters here. A little prep goes a long way: fill holes, sand rough spots, wipe the wall clean, and dry it thoroughly.
This is the method for people who want to hide marks and look like they planned something stylish all along. Honestly, it is one of home decor’s great cover-ups.
3. Use Oversized Art, Mirrors, or a Gallery Wall
Sometimes the easiest way to cover a mark on a wall is to stop treating it like a repair problem and start treating it like a decorating opportunity. A large framed print, mirror, textile hanging, cork board, leaning ladder shelf, or grouped gallery wall can cover visual damage almost instantly.
This option is especially smart if the mark sits at eye level and the room needs more personality anyway. Two birds, one stylish frame.
Why this works
Decor shifts attention. Instead of staring at a smudge, the eye lands on scale, color, texture, or reflection. This works beautifully in bedrooms, hallways, living rooms, home offices, and stair landings where blank walls often benefit from something decorative.
Smart ways to use this trick
- Oversized art: Great for one large stain or scuffed zone behind furniture.
- Mirrors: Cover marks while bouncing light around the room.
- Gallery walls: Ideal when several smaller marks are spread across one section.
- Fabric hangings or tapestries: Soft, forgiving, and especially useful for renters.
- Message boards or peg rails: Practical for offices, mudrooms, and kids’ spaces.
Make it look designed, not desperate
Size matters. A tiny frame floating over a giant damaged patch will only make the wall look guiltier. Go large enough to truly cover the area or group pieces in a balanced arrangement. Use painter’s tape to mock out the layout first. This helps you avoid making six extra holes in the wall while trying to hide the original problem. That would be a very on-brand DIY mistake, but still a mistake.
If you rent, use removable hanging strips where appropriate and check weight limits carefully. If the wall itself is delicate, avoid overloading adhesive products and choose lighter pieces.
This method is less about invisibility and more about redirection. And to be fair, interior design is often just elegant redirection with better lighting.
4. Add Paneling, Slats, or a Half-Wall Treatment
For repeated marks in busy zones, a more durable cover makes sense. That is where paneling, slatted wood accents, beadboard, wainscoting, or other half-wall treatments come in. These are especially effective in entryways, hallways, breakfast nooks, children’s rooms, and anywhere chairs, shoes, bags, and daily chaos tend to collide with painted walls.
Why this works
Paneling does not just hide existing marks. It protects the wall from future ones. That makes it a practical design upgrade, not a temporary disguise. If your lower walls always end up scuffed, scratched, or mysteriously dinged, covering that area with a sturdier finish can save time and frustration long-term.
Popular options
- Beadboard or wainscoting: Classic, clean, and perfect for lower-wall damage.
- Fluted or slat panels: Modern and textured, great for feature walls.
- Paintable wall panels: Useful when you want a seamless custom color.
- Fabric-covered acoustic panels: Helpful in offices or media rooms where softness and sound control are a bonus.
Where this method shines
If you have a hallway where every backpack, stroller, grocery bag, and human shoulder seems to graze the wall, stop repainting the same spot forever. Install a chair rail with paneling below it. If the mark is behind a dining chair, a half-wall treatment can make the room look more finished while protecting the exact zone that keeps getting hit.
A practical design bonus
Paneling can visually elevate a room. It adds texture, dimension, and architectural interest, which means your wall no longer looks like it was fixed. It looks upgraded. That is the difference between hiding a problem and outsmarting it.
How to Choose the Best Method for Your Wall
Still deciding? Here is the easiest way to think about it:
Choose cleaning plus touch-up paint if…
The mark is small, the wall finish is in decent shape, and you want the least visible repair.
Choose peel-and-stick wallpaper or wall liner if…
The damaged area is bigger, the wall has several cosmetic flaws, or you want a decorative solution that covers more than one issue.
Choose art or mirrors if…
The problem is localized and the room would benefit from more visual interest anyway.
Choose paneling or a half-wall treatment if…
The marks keep coming back in the same busy area and you want something more durable.
Mistakes to Avoid When Covering Marks on Walls
- Do not scrub delicate paint finishes too aggressively.
- Do not touch up with the wrong sheen and expect it to disappear.
- Do not apply wallpaper over dirt, grease, or loose paint.
- Do not use tiny decor to hide large damage.
- Do not ignore moisture stains, mold, or structural cracks. Those need diagnosis, not decor.
That last point matters. If a mark keeps returning, spreads, feels damp, or comes with bubbling paint, there may be a leak or moisture issue behind it. In that case, covering it is like putting sunglasses on a problem and hoping no one notices.
What I Learned From Actually Living With Marked-Up Walls
The funniest thing about wall marks is how long people will live with them before doing anything. I have seen families repaint a front door, swap out light fixtures, buy a new rug, and still ignore the giant scuff by the hallway corner as if it were part of the mortgage. The truth is, most wall marks do not get fixed because they are difficult. They get ignored because they feel annoying, small, and weirdly easy to postpone.
In real life, the best solution is usually the one that fits your habits. In one home, a mild soap wash and a careful paint touch-up solved nearly everything in the living room because the marks were mostly from furniture rubbing during cleaning days. In another, the real winner was peel-and-stick wallpaper in a breakfast nook where chair backs had slowly turned the wall into modern abstract art. The wallpaper looked intentional, took less than an afternoon, and gave the room more personality than the plain paint ever had.
I have also seen oversized framed prints work wonders in rentals. One apartment had a mysterious dark mark at eye level near the entry that would not fully come off without damaging the paint. Instead of risking the security deposit, the renter hung a large print with removable hardware and turned the area into a mini landing zone with a narrow console table below it. Problem hidden, room improved, stress level lowered.
The most practical transformation, though, is usually paneling in high-traffic spaces. Hallways, mudrooms, and kids’ rooms are notorious for repeat offenders. Once a family adds beadboard or a durable lower-wall treatment, the constant cycle of wiping, retouching, and squinting usually ends. It is not just a cover-up; it changes how the room handles daily wear. That is why this option feels so satisfying. It solves today’s problem and tomorrow’s version of it too.
The biggest lesson is that walls do not have to be perfect to look good. They just need a smart strategy. Sometimes that strategy is invisible, like a careful touch-up. Sometimes it is decorative, like wallpaper or art. And sometimes it is protective, like paneling. Once you stop assuming every mark requires a full repaint, the whole task becomes easier, cheaper, and much less dramatic.
So if you are staring at scuffs, smudges, scratches, or stubborn discoloration, do not panic and do not immediately buy three gallons of paint. Start small. Clean the wall. Test the simple fix. If that does not work, cover the area in a way that improves the room instead of merely disguising the damage. The best wall repair is often the one that ends with you liking the space more than you did before the mark showed up. That, frankly, is a pretty satisfying revenge arc for a hallway scuff.
Conclusion
If you want to cover marks on walls without a full-scale renovation, you have options that are both practical and stylish. Start with the easiest route: clean the mark and use a precise paint touch-up. If the wall needs more help, peel-and-stick wallpaper or wall liner can hide a bigger mess while adding design impact. Oversized art and mirrors are perfect for quick visual camouflage, and paneling or half-wall treatments offer a durable long-term solution for areas that take constant abuse.
The best method is the one that matches your wall, your budget, and your tolerance for DIY chaos. Either way, those marks do not have to stay there making your room look tired. With the right fix, you can cover the damage and make the space look better than it did before.


