Table of Contents >> Show >> Hide
- What the Userpilot Chrome Extension Actually Does
- Before You Install the Extension, Set the Table
- How to Install the Userpilot Chrome Extension
- What Happens Right After Installation
- How to Test Before You Publish
- Common Problems When Installing the Userpilot Chrome Extension
- Best Practices for a Smoother Userpilot Setup
- Why This Extension Matters for Product Adoption
- Experience From the Field: What Installing the Userpilot Chrome Extension Usually Feels Like
- Conclusion
- SEO JSON
Installing the Userpilot Chrome extension sounds like one of those “this will only take a minute” tasks that somehow turns into a full afternoon and a slightly dramatic Slack message. The good news is that it does not have to. Once you understand what the extension does, what your app needs before installation, and how to avoid the usual setup potholes, the whole process becomes refreshingly straightforward.
If you are using Userpilot to build product tours, spotlights, banners, checklists, or other in-app onboarding experiences, the Chrome extension is a core part of the workflow. It acts as the visual builder that lets you create and edit content directly on top of your web app. In plain English: instead of imagining where a tooltip should go, you can actually place it where it belongs and see how it behaves before users ever do.
This guide covers how to install the Userpilot Chrome extension, what to prepare first, how to launch it properly, how to test your content, and what to do when Chrome, security settings, or your company laptop starts acting like a grumpy bouncer outside a nightclub.
What the Userpilot Chrome Extension Actually Does
The Userpilot Chrome extension is not just a little browser add-on you install and forget about. It is the visual side of the Userpilot experience. Once installed, it lets teams build flows, spotlights, banners, and buttons directly on the product interface. It also supports no-code event labeling, which is a big deal if your team wants behavioral tracking without filing a tiny engineering ticket every time someone clicks a button.
That matters because product onboarding works best when it happens inside the product, not in a dusty PDF, a six-email sequence, or a training deck nobody opens after Tuesday. A strong onboarding flow guides users to value quickly, reduces confusion, and supports feature adoption without overwhelming people. Userpilot’s extension exists to make that process practical instead of painfully theoretical.
Before You Install the Extension, Set the Table
Here is the part people love to skip: the extension works best when your Userpilot setup is already moving in the right direction. Installing the extension is important, but it is not the entire setup. Think of it like buying a fancy espresso machine without remembering the coffee beans. Nice machine. Sad morning.
1. Make sure Userpilot is installed on your web app
Before the extension can do its best work, your app should already have the Userpilot JavaScript snippet added. This is what allows Userpilot to communicate with your product environment. If that script is missing, the extension may install just fine, but your “build magic here” moment will be a lot less magical.
In most teams, an engineer adds the script to the site header and ensures the app token is correct. On single-page applications, route changes also need to be handled properly so Userpilot can recognize navigation within the product. In other words, installing the extension is step two in spirit, even if people emotionally want it to be step one.
2. Plan your user data and company data
A clean Userpilot setup starts with knowing what you want to segment and personalize. Useful user properties might include name, email, role, signup date, account age, or pricing plan. Company properties can include workspace name, account tier, industry, team size, or contract status.
Why does this matter before you install the extension? Because the extension helps you build experiences, but the real power comes from showing the right experience to the right person. A first-time admin should not see the same onboarding flow as a returning end user who already knows where all the buttons live. That is how you create annoyance, not adoption.
3. Decide what events you care about
Userpilot is far more useful when you define the actions that signal progress. That could be clicking a “Create Project” button, inviting teammates, publishing a dashboard, connecting an integration, or completing a setup wizard. Once those events are tracked, you can trigger guidance more intelligently and measure whether onboarding content is actually helping.
This is also where no-code event labeling becomes attractive. Instead of relying entirely on custom engineering work, teams can label important UI interactions visually and connect onboarding to actual product behavior.
How to Install the Userpilot Chrome Extension
Now for the part your browser has been waiting for.
Step 1: Open Chrome on a desktop computer
Chrome extensions are built for desktop use. If you are trying to install Userpilot on a phone or in some heroic mobile-browser workaround, save yourself the suspense. This setup is meant for a desktop browser environment.
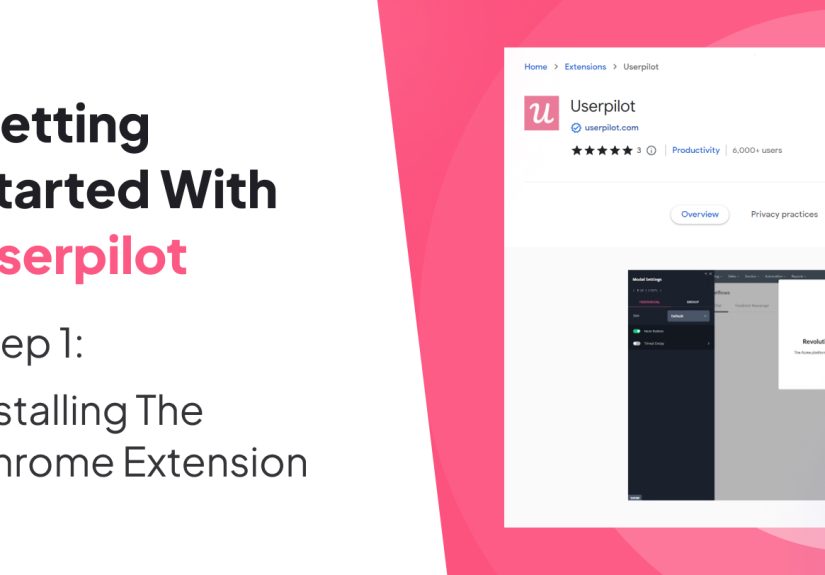
Step 2: Go to the Chrome Web Store
Search for the Userpilot extension in the Chrome Web Store. Once you open the listing, confirm that it is the official Userpilot extension and review the description. This is good security hygiene and also a nice way to avoid installing something with a name like “Userpilott Pro Max Ultra Helper.” That is almost certainly not the one.
Step 3: Click “Add to Chrome”
Chrome will prompt you to add the extension. At this point, review any permissions it requests. This is normal behavior for extensions. Chrome will tell you what level of access is involved, and you should approve only extensions you trust and actually intend to use.
Step 4: Confirm the installation
After approval, the extension should appear in your browser’s extensions area. If it does not show in the toolbar immediately, click the puzzle-piece extensions menu and pin it so it stays visible. That makes launching the Userpilot builder faster and saves you from the daily ritual of hunting through browser menus like a detective in a productivity thriller.
Step 5: Sign in and open your product
Once the extension is installed, open your web app, log in, and click the Userpilot extension icon. If your app snippet is installed correctly and your account permissions are in good shape, the builder should launch and let you start creating or editing content directly on the page.
What Happens Right After Installation
Here is where the extension starts earning its keep. With the builder open, you can create new onboarding content from within your application. That usually means selecting the page where the experience should appear, choosing a content type, and placing UI elements visually.
Common use cases include:
- Creating a new user onboarding flow for first-session activation
- Building feature announcements for newly released functionality
- Adding spotlights to guide users toward high-value actions
- Creating banners or buttons that nudge users without interrupting them
- Labeling UI interactions as events for analytics and targeting
This is one of the biggest reasons teams like Userpilot in the first place: non-technical users can do meaningful onboarding work without waiting in a queue behind infrastructure tickets, analytics debates, and that one mysteriously urgent bug labeled “minor.”
How to Test Before You Publish
Installing the extension is not the finish line. It is the moment where responsible teams start testing. Userpilot supports previewing and testing flows so you can check how content looks and behaves before it reaches actual users.
Preview mode
Preview mode helps you inspect content while building. This is where you catch visual issues, awkward copy, bad spacing, and that tooltip that somehow points confidently at the wrong button. If a flow looks off in preview, trust that instinct. Users notice weirdness faster than product teams do.
Test mode
Test mode lets you experience the content more like a real end user would. This is where you validate targeting, flow order, triggers, and whether the overall experience feels smooth instead of robotic. A flow can be technically correct and still feel annoying, which is why testing needs both logic and common sense.
Staging environments
If your team has a staging setup, use it. Testing in a separate environment helps you experiment safely before publishing to production. It also keeps test analytics from muddying live data and gives teams room to adjust content without surprising real customers.
Common Problems When Installing the Userpilot Chrome Extension
Even clean installations can hit friction. Here are the usual suspects.
The extension will not install
Start with Chrome itself. Make sure the browser is current, and make sure you are using a desktop computer. Also check whether you are in Guest or Incognito mode, because Chrome does not allow normal extension installation there.
Your company laptop blocks installation
If you are on a managed device, your administrator may control which extensions can be installed. This is especially common on work laptops. In that case, the issue is not Userpilot. It is browser policy, and you will likely need IT approval.
The extension installs, but the builder does not behave correctly
This is often tied to app setup, permissions, or security settings. Confirm that the Userpilot snippet is installed correctly. Check that user identification and tracked properties are being passed as expected. If your app has a strict content security policy, your engineering team may need to whitelist the relevant Userpilot domains and connections.
The extension icon seems to disappear
It may simply be unpinned. Open the extensions menu and pin it to your toolbar. Chrome likes to keep things tidy. Sometimes a little too tidy.
The extension has access issues on certain pages
Chrome lets users manage extension access to specific sites. If the builder works on one domain but not another, check the extension’s site permissions and make sure it can run where you need it to.
Best Practices for a Smoother Userpilot Setup
- Install the extension only after confirming the Userpilot script is live on your app.
- Pin the extension so your team can open the builder quickly.
- Define onboarding goals before building anything. Good tools cannot rescue vague strategy.
- Track important events early so content can respond to behavior instead of guessing.
- Test in preview, then test like a real user, then test again after someone inevitably changes the UI.
- Use staging when available to keep live users out of your experimentation phase.
- Review permissions and browser policies before blaming the extension for every inconvenience in modern life.
Why This Extension Matters for Product Adoption
The real value of installing the Userpilot Chrome extension is not the installation itself. Nobody wins awards for successfully clicking “Add to Chrome.” The value comes after: faster onboarding creation, better contextual guidance, less dependency on engineering for every update, and a clearer path from “new user signed up” to “new user actually got value.”
That is where product-led onboarding gets interesting. When your team can build in-app experiences quickly, tie them to real events, personalize them by segment, and measure what happens next, onboarding stops being a static checklist and becomes a system for driving activation, retention, and feature adoption.
Experience From the Field: What Installing the Userpilot Chrome Extension Usually Feels Like
Here is the honest version of the experience many teams have with the Userpilot Chrome extension.
At first, someone on the product team assumes installation will be the whole project. Ten minutes later, they realize the extension is only the visible tip of the iceberg. The good kind of iceberg, thankfully, not the ship-sinking kind. They install it, click the icon, and immediately discover that the real magic depends on whether the Userpilot snippet is already installed, whether the right user data is being passed, and whether the page they are trying to build on is actually the correct environment.
Then comes the surprisingly satisfying part. Once everything is connected properly, the extension makes onboarding design feel much more concrete. Teams stop talking abstractly about “maybe a tooltip over there” and start actually placing a tooltip over there. They preview, move things around, rewrite the copy, and quickly realize that good onboarding is less about stuffing users with instructions and more about guiding them to one useful next action.
A common experience is that the first flow takes longer than expected, but the second one goes dramatically faster. That is because the learning curve is mostly about setup and logic, not about clicking around the builder itself. Once a team understands where to launch the extension, how to select the right page, how to target content, and how to test it, the workflow becomes much smoother.
Another shared experience is the great permissions moment. Someone on the team installs the extension on a managed company laptop, nothing works, and for fifteen minutes everybody assumes the platform is broken. Then IT gently explains that browser policies are blocking installation or limiting extension access. Mystery solved. Pride slightly bruised. Progress resumed.
There is also the classic design reality check. A flow that looks clever in theory may feel cluttered in practice. Teams often install the extension thinking they will build a grand cinematic onboarding masterpiece. What they actually learn is that shorter, more contextual guidance usually performs better. One spotlight, one tooltip, one clear instruction, one useful next step. Users are here to finish work, not attend your software’s Broadway debut.
Teams that get the best experience usually do three things well. First, they define activation goals before building content. Second, they connect onboarding to events so experiences react to real user behavior. Third, they test everything in conditions that resemble reality. Not fantasy. Reality. That means using realistic accounts, real page states, and actual product paths instead of the clean demo setup that only exists for five glorious minutes after a fresh seed script.
Over time, the extension becomes less of a tool you installed and more of a tool you rely on. Product marketers use it to announce features. Customer success teams use it to improve adoption. Product managers use it to reduce friction in critical workflows. And everyone eventually becomes just a little suspicious of any app that still explains itself through a lonely help article and a prayer.
So yes, installing the Userpilot Chrome extension is a technical setup task. But in practice, it often becomes the first step toward a more agile onboarding process, faster experimentation, and fewer moments where users stare at the interface wondering, “Cool… but what am I supposed to do now?”
Conclusion
Installing the Userpilot Chrome extension is simple on the surface, but the best results come from treating it as part of a full onboarding setup rather than a one-click shortcut. Install the extension on desktop Chrome, confirm the Userpilot snippet is live, plan your user data and events, pin the builder, and test your experiences before publishing. Do that, and you are not just adding a browser extension. You are setting up a smarter way to build in-app onboarding that is faster, more contextual, and much easier to improve over time.
Note: This article is written for web publication and intentionally omits raw source links while staying grounded in current real-world documentation and product onboarding best practices.


