Table of Contents >> Show >> Hide
- Why This Mini Volcano Experiment Is So Popular
- What You’ll Need
- How to Make a Baking Soda and Vinegar Mini Volcano: 11 Steps
- Step 1: Pick a Safe Workspace
- Step 2: Choose Your Volcano Container
- Step 3: Build the Volcano Shape
- Step 4: Add Warm Water
- Step 5: Add Dish Soap
- Step 6: Add Food Coloring
- Step 7: Measure the Baking Soda
- Step 8: Prepare the Vinegar
- Step 9: Pour in the Vinegar
- Step 10: Observe the Reaction
- Step 11: Repeat and Experiment
- How the Science Works
- Tips for a Better Eruption
- Common Mistakes to Avoid
- Fun Variations to Try
- Is This Experiment Good for Kids?
- Cleanup Tips
- Final Thoughts
- Extra Experience and Practical Notes
If you love easy science projects with a big payoff, a baking soda and vinegar mini volcano is hard to beat. It fizzes, foams, and looks dramatic enough to make kids cheer and adults pretend they totally understood the chemistry all along. Best of all, this classic experiment is simple, inexpensive, and much safer than sealed-pressure reaction projects.
In this guide, you’ll learn how to make a mini volcano in 11 clear steps, what materials work best, how the science works, and how to get a better eruption without turning your kitchen into a disaster zone. We’ll also cover common mistakes, cleanup tips, and a few fun ways to customize the experiment.
Why This Mini Volcano Experiment Is So Popular
The baking soda and vinegar volcano has stuck around for generations because it checks all the boxes: it’s cheap, hands-on, fast, educational, and delightfully messy in a controlled sort of way. It’s a great STEM activity for classrooms, family science nights, homeschool lessons, rainy afternoons, or anyone who wants to feel like a mad scientist without alarming the neighbors.
It also offers a simple way to introduce acid-base reactions. Vinegar, a mild acid, reacts with baking soda, a base, to create carbon dioxide gas. That gas builds bubbles in the liquid and pushes the foamy mixture upward, creating the “eruption.” It’s science with flair, which is really science at its most charming.
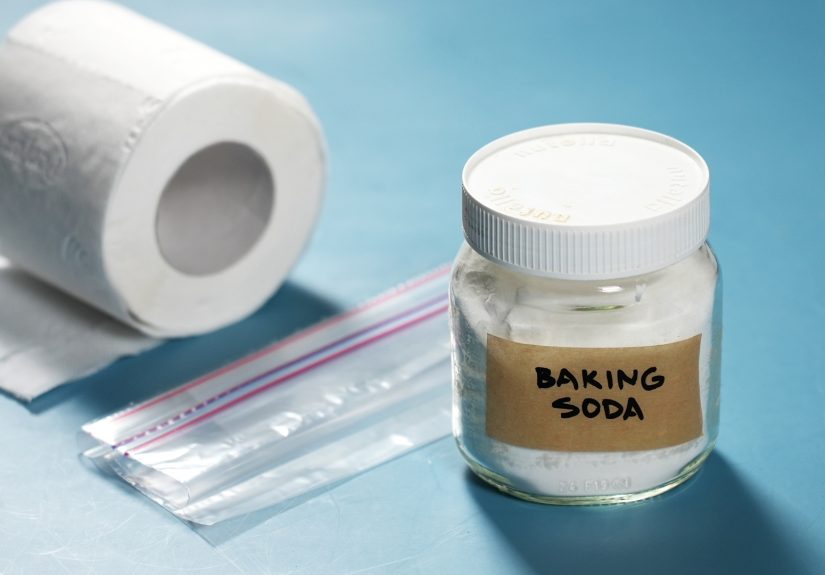
What You’ll Need
- 1 small plastic bottle, cup, or jar
- Baking soda
- White vinegar
- Dish soap
- Warm water
- Red, orange, or yellow food coloring
- Tray, pan, or plastic bin for easy cleanup
- Modeling clay, aluminum foil, dirt, or paper mache for the volcano shape
- Spoon or small funnel
- Measuring cups
- Safety glasses for kids, if desired
How to Make a Baking Soda and Vinegar Mini Volcano: 11 Steps
Step 1: Pick a Safe Workspace
Choose a location that can handle spills. A kitchen counter, patio table, backyard tray, or classroom science station all work well. Put down a tray or shallow bin first. This step may sound boring, but it’s the difference between “What a fun experiment” and “Why is the grout pink?”
Step 2: Choose Your Volcano Container
Place a small bottle, jar, or plastic cup in the center of your tray. This container acts as the magma chamber. A narrow bottle neck usually creates a more dramatic upward eruption, while a wider cup makes a broader, bubbly overflow.
Step 3: Build the Volcano Shape
Create the mountain around the container using clay, foil, paper mache, or even packed dirt if you’re outdoors. Keep the opening clear so the eruption can escape easily. If you want a realistic look, shape gentle slopes and leave a crater at the top.
Step 4: Add Warm Water
Pour a little warm water into the bottle, filling it about one-third of the way. Warm water helps dissolve ingredients and can improve the foamy flow. Don’t overfill it, or you’ll reduce the space needed for the reaction to bubble up dramatically.
Step 5: Add Dish Soap
Squeeze in a few drops of dish soap. This is the secret to a better lava effect. The soap traps the carbon dioxide bubbles and turns the reaction into thicker foam instead of a quick splash. In other words, this is how you go from “tiny fizz” to “mini movie special effect.”
Step 6: Add Food Coloring
Drop in red, orange, or yellow food coloring to give the eruption a lava-like appearance. You can mix colors for a richer tone. Red and yellow together often look especially good. This step is optional, but visually it adds a lot of fun.
Step 7: Measure the Baking Soda
Add about 1 to 2 tablespoons of baking soda to the container. If you’re using a very small bottle, start with 1 tablespoon. For larger containers, you can experiment with slightly more. A small funnel helps keep the powder where it belongs.
Step 8: Prepare the Vinegar
Measure about 1/4 to 1/2 cup of white vinegar in a separate cup. You can add a few extra drops of food coloring if you want a stronger color burst. Having the vinegar ready before you start keeps the experiment smooth and avoids frantic scrambling while your audience waits for the lava that was promised.
Step 9: Pour in the Vinegar
Quickly pour the vinegar into the volcano container and step back slightly to watch the eruption. The acid-base reaction begins immediately, releasing carbon dioxide gas that creates bubbling, foaming “lava.” This is the big moment, so let it shine.
Step 10: Observe the Reaction
Take a minute to notice what happens. How fast did the foam rise? Did it pour straight down or ooze over one side? Did the container shape affect the eruption? A simple observation session turns this from a craft into an actual science activity.
Step 11: Repeat and Experiment
One of the best parts of this mini volcano project is trying new variations. Use more soap for thicker foam, change the bottle size, test different amounts of baking soda, or compare warm vinegar with room-temperature vinegar. Repeating the experiment helps kids understand variables and cause-and-effect in a way that sticks.
How the Science Works
This volcano experiment is based on an acid-base reaction. Vinegar contains acetic acid, while baking soda is sodium bicarbonate. When they combine, they form carbon dioxide gas, water, and another dissolved compound. The carbon dioxide appears as bubbles, and when dish soap is present, those bubbles get trapped and build into a frothy foam.
That foam rushes out of the top of the volcano and looks like lava, even though it’s really just bubbly liquid escaping under the push of gas. No real magma. No tectonic drama. Just cheerful chemistry doing its thing.
Tips for a Better Eruption
- Use a narrow-necked bottle for a taller eruption.
- Add dish soap to make the foam last longer.
- Use warm ingredients for a slightly more active reaction.
- Set everything on a tray to contain the overflow.
- Test different ingredient amounts to see what changes.
Common Mistakes to Avoid
Using a Sealed Container
Never seal the reaction in a closed bottle or container. This experiment should always stay open at the top so gas can escape safely.
Overfilling the Bottle
If there isn’t enough space inside the container, the ingredients may spill too early and reduce the eruption effect.
Skipping the Tray
Yes, it looks optional. No, it is not optional if you value clean floors and stable household diplomacy.
Adding Too Much Food Coloring
A little goes a long way. Too much can stain hands, counters, or clothing.
Fun Variations to Try
Outdoor Dirt Volcano
Bury the bottle slightly in soil and shape a dirt mountain around it for a more natural look.
Snow Volcano
If you live somewhere cold, build the volcano in snow and use colored foam for an eye-catching winter science activity.
Rainbow Eruption
Use multiple small containers with different food coloring shades to create a colorful chain of mini eruptions.
Is This Experiment Good for Kids?
Yes, this is one of the most kid-friendly science experiments when supervised by an adult. The ingredients are common household items, and the setup is simple. Younger children may need help measuring and pouring, while older kids can turn the project into a full science fair presentation by testing different variables and recording results.
Even adults enjoy this one. There is something deeply satisfying about building a tiny mountain and making it erupt on command. It’s like being in charge of geology for five glorious minutes.
Cleanup Tips
Cleanup is usually easy. Wipe the tray, rinse the bottle, and wash away any remaining foam with warm water. If you used paper mache or decorative materials, remove the wet parts carefully so they don’t get soggy and collapse. Outdoors, you can often rinse the area with a hose if the materials are appropriate for it.
Final Thoughts
If you want a simple, fun, and educational activity, making a baking soda and vinegar mini volcano is a classic for good reason. It combines creativity, hands-on learning, and dramatic visual results with ingredients you may already have at home. Whether you’re setting up a classroom demonstration or entertaining curious kids on a weekend, this experiment delivers a memorable eruption without requiring complicated tools or risky methods.
The best part is that you can keep improving it. Tweak the recipe, redesign the volcano, test new ideas, and turn one small eruption into a full-blown science adventure. Tiny volcano, big personality.
Extra Experience and Practical Notes
People who try this experiment for the first time often discover that the setup matters almost as much as the ingredients. A mini volcano built on a flat tray usually performs better than one balanced on a plate with curved edges. The reason is simple: you want room for the foam to flow and enough stability to keep the bottle from tipping. Many parents, teachers, and hobby crafters also notice that the most exciting part for kids is not just the eruption itself, but the anticipation that builds while they prepare the crater, measure the baking soda, and count down before the vinegar goes in.
Another common experience is learning that “more” does not always mean “better.” Dumping in a huge amount of baking soda or vinegar can create a messy overflow, but not necessarily a prettier eruption. In many cases, the best result comes from balancing the ingredient amounts, using a little dish soap, and choosing a container that directs the foam upward. A narrow opening often creates the most satisfying lava effect. That moment when the foam rises, spills over the crater, and snakes down the sides of the volcano is usually what people are aiming for.
Classroom groups often turn this project into a lesson on prediction and observation. Before the reaction starts, students guess what will happen if they change one variable, such as water temperature, soap amount, or bottle size. After the eruption, they compare results and discuss why some volcanoes produced fast foam while others created slower, thicker lava. This adds a layer of real scientific thinking to a very playful experiment.
Families doing the experiment at home also tend to get creative with presentation. Some decorate the volcano with toy dinosaurs, pebbles, or painted cardboard trees. Others make a whole landscape with tunnels, rivers, and nearby villages that are, quite unfortunately, located in a terrible place for zoning compliance. These little details make the project more immersive and can help children stay engaged longer.
One practical lesson many people learn quickly is to keep paper towels close. Even when the volcano behaves, the foam likes to wander. Food coloring can also leave marks if it splashes onto fabric or porous surfaces, so washable materials are your friend. Many experienced volcano builders use old trays, plastic bins, or outdoor picnic tables to avoid stress during cleanup.
Another helpful observation is that repeating the experiment usually leads to better results. The first try teaches you the basics. The second try is where you start making smart adjustments. By the third round, many people have a favorite setup and begin experimenting with style, color, and eruption speed. That repeatable, tweakable quality is part of what makes this science activity so effective and memorable.


